Card 1
First, I created a birthday slider card. I combined one of the Project Life Mini Memory Files and a 3×4 card from the Favorite Things Core kit to create my card.
I have a hidden message on the front of the card that is revealed when the slide is pulled back.
Inside the card I stamped a simple birthday sentiment using the Mini Stamps.
Here's how I made my card.
2. Place the Dot stencil over the Jumbo number and Spritz with Mustard Colorshine.
3. Take the 3×4 card and slide the circle punch in as far as it will go and to the right of the card and punch. Repeat for the left side.
4. Using a ruler and craft knife cut lines joining up each circle to create the window.
5. Using the Project life Clear Stamps, add a sentiment to the right of the Memory File.
6. Turn the 3×4 card over and add strips of foam tape along the edges of the window to create a channel for the paper strip to run along. Trim the pattern paper to fit along the channel.
7. Adhere the 3×4 card using foam tape to the front of the Memory File. Add a foam square to the end of the paper strip to act as a stopper for the slider.
8. Adhere the Jumbo Number to the foam square.
9. Add Epoxy words, splashes of Black ColorShine and punched shapes to complete the card.
For card 2 I created a “rub off” birthday card for my son to use to pick an after school treat for his birthday.
A coin is used to rub off the paint mixture to reveal the fun choices.
1. Choose a 3×4 card from the Favorite Things Core Kit and print or draw on three shapes with the choices to be rubbed off.
2. Gather your supplies- the 3×4 printed card, metallic paint, small paint brush, white candle or white crayon, dishwashing liquid, black ink, mini stamps.
3. Use the white candle and rub over the printed parts of the 3×4 card.
4. Mix 2/3 metallic paint and 1/3 dishwashing liquid.
5. Use the paint mixture to paint over the printed shapes. Allow to dry and add a second coat.
6. Finish the card with mini stamps and epoxy shapes.
I wanted to share a quick video of my son using the card.
Card 3
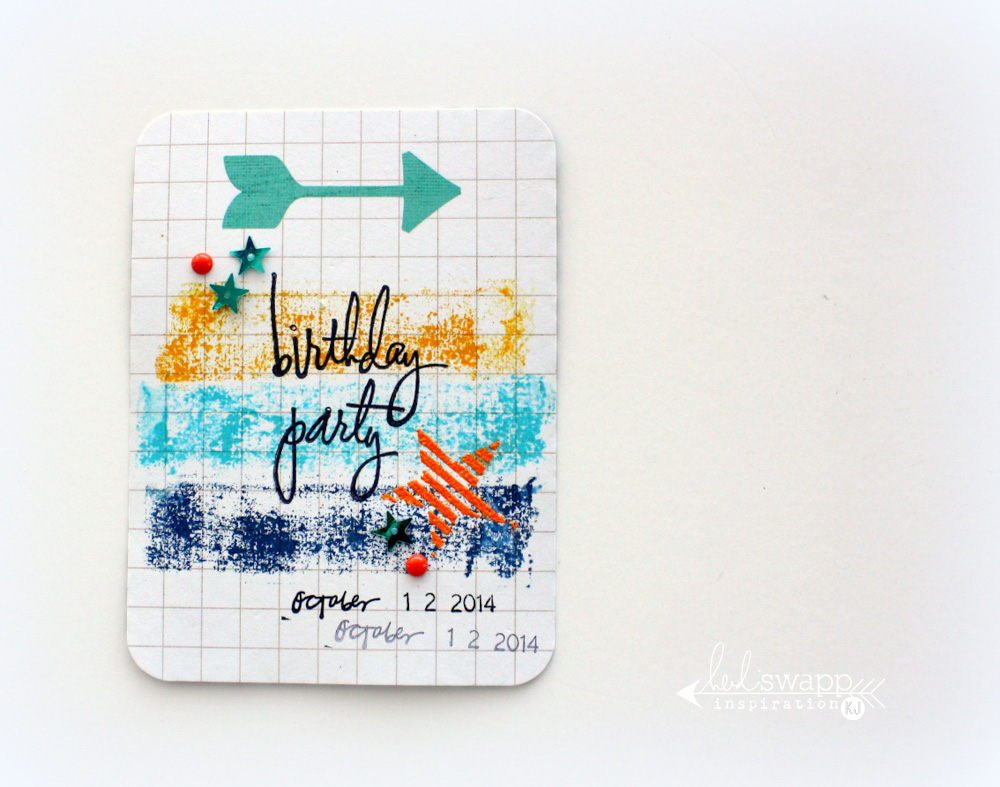
I used some washi tape to stamp onto the 3x4 card then completed the card with some of the mini stamps!
Thanks for popping by!


9 comments:
These are just so fun Kim!! Love them all :)
These are so fun and so creative!
Ha!! I hope Addison had a fabulous day and really, really enjoyed his icecream!! LOL! Fantastic ideas Kim and absolutely beautiful cards! LOVE!
Very cleverly created, love the fun idea of the rub off treats, and always love the fabulous designs you make too!
These looks fabulous! Great kids cards....especially love the rub off one...what a clever, clever idea...the washi looks great, too:):) Thanks so much for sharing your how to's:):)
What a great idea Kim!
Thank You!!
You are so clever! Amazing ideas!
Oh MY Gorgeousness! I love each and every one of these. And the rub off metallic? Brilliant!
Such gorgeous cards and awesome ideas yet again, love love love!! :)
Post a Comment