Wednesday, February 28, 2018

DIY laminated pocket for your planner


I love my  Heidi Swapp Memory Planner. It's a place when I can record the everyday moments of my family. Sometimes I have a few bits and pieces of memorabilia I want to add into my planner so I wanted to come up with a way to create a little DIY pocket.
Today I want to share a fun idea for creating your own pocket, its  super easy and super fun!

Heidi Swapp Memory Planner

As you can see  below I have a place to store some bits and pieces in a clear pocket that is surprisingly easy to make with a couple of laminating sheets, your Minc machine and one of the new Fresh Start list books.

Heidi Swapp Memory Planner

Let me show you how easy it is to make.

Step 1. Grab one of the List books that come in the Fresh Start collection or you could use a piece of cardstock trimmed to suit the size of your planner. Also trim a laminating pouch to fit just smaller than the list book cover. 

Heidi Swapp Memory Planner

step 2. Turn the two pieces of laminating sheets the opposite direction so the shiny sides are now facing each other. ( this is the trick to creating the pocket. the shiny sides together do not  fuse  together when  run through the Minc machine. )


Step 3. Using a craft knife trim the cover off the List book.

Heidi Swapp Memory Planner

Step 4. Turn the cover over and carefully lay the trimmed laminating sheets onto the cover. Be sure to leave an edge on the two sides and bottom, but line up  the top of the laminating sheets and the top of the cover. Now lay the whole piece inside another laminating pouch.

Heidi Swapp Memory Planner

Step 5.  Run the pouch through your Mic machine.

Heidi Swapp Memory Planner

Step 6 Using a paper trimmer or scissors trim around the edge of the laminating pouch ensuring there is a small border around the two sides and bottom to make sure there is no gaps in the laminating .

Heidi Swapp Memory Planner

Step 7. Trim along the top edge of the laminated pouch/ cover , trimming off the laminated edge therefore opening up the pouch. 
  
Heidi Swapp Memory Planner


     Step 8 Punch holes and slip it into your planner.

Heidi Swapp Memory Planner

I cannot tell you how excited I am for this new technique, as  a teacher I am always using laminating sheets and have used this technique in the classroom before but I am thrilled to now use it in my Memory Planner.

Photobucket

Thursday, February 8, 2018

letterbox and lightbox Winter Games fun!


With the Winter games starting today I wanted to set up a little display in my classroom for my kindergarten class to follow our Australian team. I cleared a shelf in my  classroom and got to work.
Of course I looked no further than the Heidi Swapp Lightbox and Letterboard.
I started with my base, my Australian flag and then layered the Lightbox shelf and the regular lightbox on top.

Heidi Swapp letterboard and lightbox

I used a variety of fonts and icons to add to the fun of it for my kindergarten students.  The icons come from the Hobby Lightbox icon set. They are perfect for the Winter games theme. 

Heidi Swapp letterboard and lightbox

I then grabbed my medium black Letterboard and spelt out the words Gold, Silver and Bronze using the 2 inch letters. I had previously spray painted some of my white 2 inch letters yellow. My plan is to add the small 1 inch letters to the Medal tally as the days go by.

Heidi swapp letterboard

My kindergarteners loved the little set up this morning as they came in to class. We will be learning about the different events as they are shown on the television as well.
 GO AUSSIES GO!

Photobucket

Monday, January 22, 2018

Storyline and National Handwriting day!


I have never been a fan of my handwriting, especially in my scrapbooks but I lately I have come to the conclusion that using my handwriting shows a little about me!
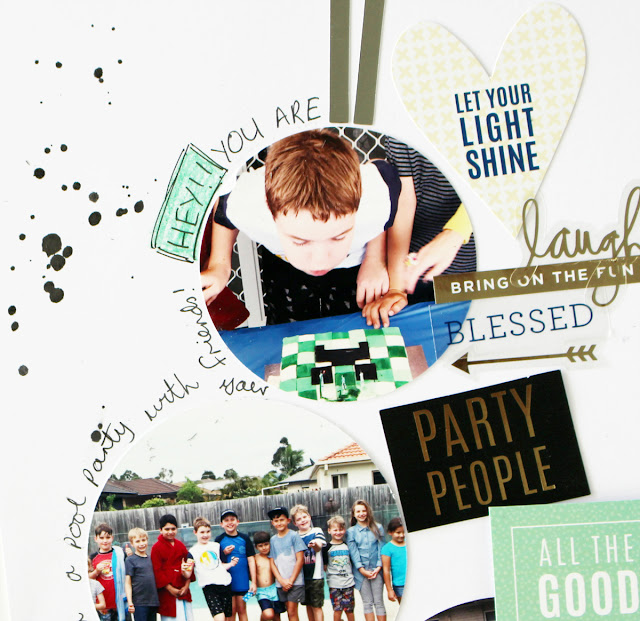
Today as we celebrate National Handwriting Day I want to share a recent page  I created using the Heidi Swapp Storyline collection....and let me tell you a little secret the whole page took me less than 20 minutes to put together! The secret....using my handwriting to add my journaling! It saves so much time rather than getting out my type writer or printing it out on my computer.

Heidi Swapp storyline collection

I started with one of the 8x11 pages and created my design around the three round photos. I added some of the Deck of Days cards and the stickers that come in the sticker kit to embellish my page.

Heidi Swapp storyline collection

I then went a head and added my journaling around the photos. The one thing that helped me was to first write my journaling in lead pencil and then trace over it with the pen. It allowed me to play with the spacing and layout of the journaling.

Heidi Swapp storyline collection

To add a touch of fun to my page I hand drew some boxes around a couple of the words and then used some coloured pencils to colour in the boxes. It really finishes off the page well!

Heidi Swapp storyline collection

Once completed I added it into my 8x11 album that I had previously completed all about my sons' birthday parties!


Photobucket

Thursday, December 28, 2017

December Memory Planner pages!

Can you believe we are at the end of 2017! I am thrilled that I have captured all  my family's memories in my Heidi Swapp Time Flies Memory Planner!

Today I want to share my December pages with you ...

Heidi Swapp Memory Planner


My prompts page celebrates the Christmas season!

Heidi Swapp Memory Planner

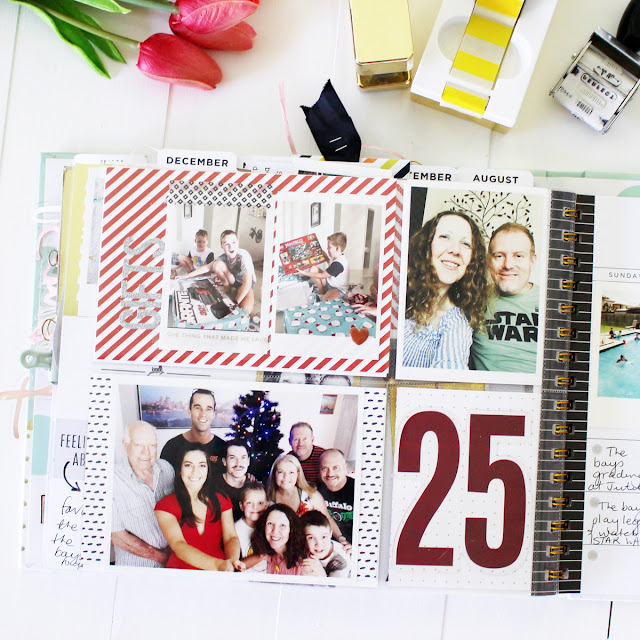
Lots of photos around our home and special visits fill the first pocket page.

Heidi Swapp Memory Planner

Turning the page, more special photos from Christmas Day!

Heidi Swapp Memory Planner

Finally the calendar page is filled with all the important dates we celebrated this month!
I am so happy to have a planner full to the brim of 2017 memories and cannot wait tp see what happens in 2018! 

Photobucket

Tuesday, December 19, 2017

November Memory Planner pages

Welcome to November in my Heidi Swapp Memory Planner. With only days till the end of 2017 I love that I have a whole years worth of memories filled in my planner!
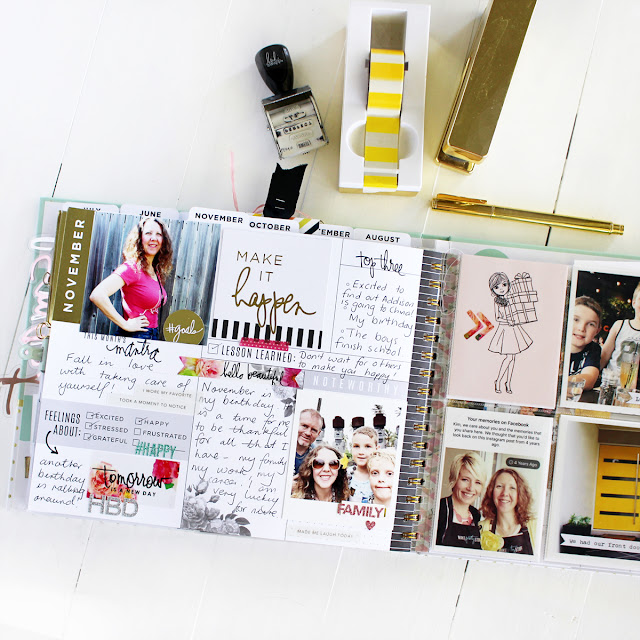
Heidi Swapp memory planner

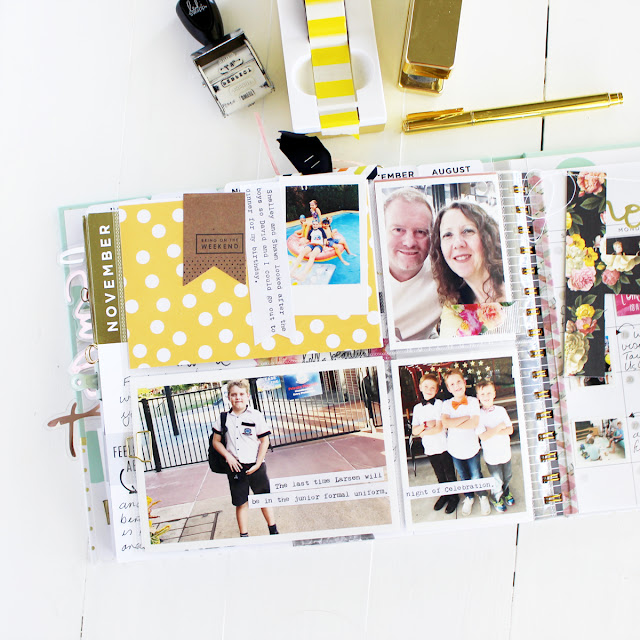
The prompt page introduces my birthday month!

Heidi Swapp memory planner

The pocket pages are filled with photos and memories , complemented with journaling using my We R memory Keepers typecast typewriter.

Heidi Swapp memory planner

Forever memories of my youngest!

Heidi Swapp memory planner

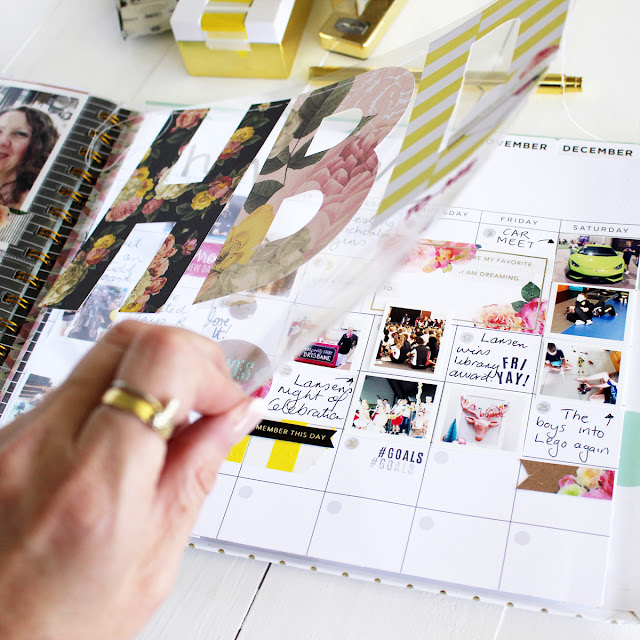
Since November was my birthday month I created a fun interactive element using a clear acetate sheet I adhered with washi to the calendar page!

Heidi Swapp memory planner

I love the way it lifts to reveal the page underneath.

Heidi Swapp memory planner

Finally my calendar page  filled with tiny snippets of journaling, photos and most of all memories!
Photobucket

Monday, December 18, 2017

Vintage Instax flip calendar

I love all things pretty and this gorgeous  Vintage Instax Flip calendar from Heidi Swapp is no exception. I adore the dramatic black and floral print. I love that you can date it your self so it can be used any year and I love that you can add photos such as Instax photos into the gold glitter frames that come in the kit!

Heidi Swapp Vintage Instax Flip Calendar

It is easy to customise with the included date stickers and a touch of washi from your stash!

Heidi Swapp Vintage Instax Flip Calendar

and as it is hung in your home it adds a statement piece to your home decor because of the stunning front cover. I cant wait to hang it in the new year!

Heidi Swapp Vintage Instax Flip Calendar

You can find the calendar at your local Michaels store!

Photobucket

Sunday, December 17, 2017

In a galaxy far far away with my letterboard...


Hand up if you are excited for the next instalment of Star Wars! We are headed there this morning so I couldn't help but celebrate with my Heidi Swapp  black letter board.
I used three sizes of the  white letters to simulate the words rolling along the screen like in the opening credits!

Heidi Swapp letterboard

My boys thought it was an absolute hoot!

Heidi Swapp letterboard

                                                              My the force be with you all!
Photobucket