Sunday, May 27, 2018

Heidi Swapp DIY Neon words

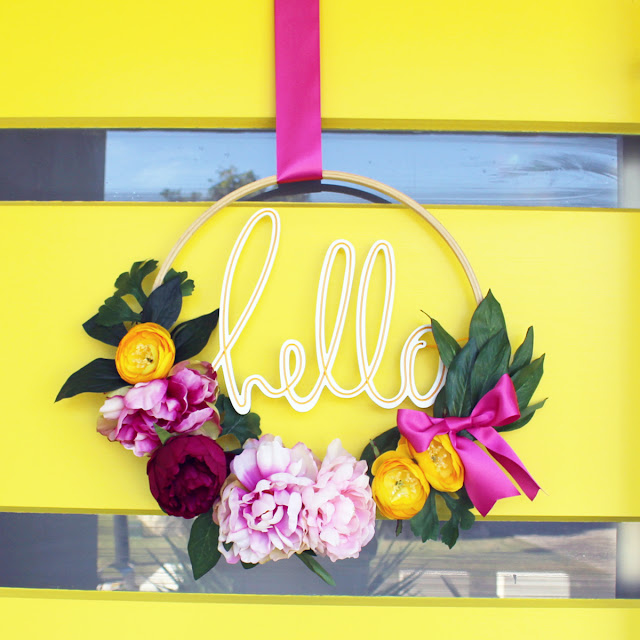
Have you seen the brand new Heidi Swapp Neon Wall words.  They are just the perfect way for a little home DIY decor. I used my word Hello  to create a beautiful wreath for my front door.

Heidi Swapp Neon wall words

 I took the Hello word and strung the yellow neon into the word. I then took a large wooden embroidery hoop and a bunch of silk flowers and created my wreath.

Heidi Swapp Neon wall words

I then attached my hello word to the hoop, with some soft wire. The battery pack is hidden behind the leaves. A perfect place ! I then used some hot pink ribbon to hang it from the top of my front door.

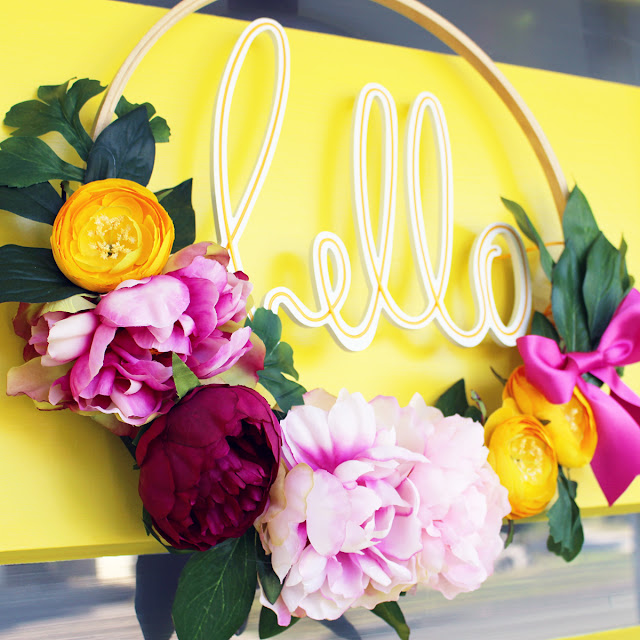
Heidi Swapp Neon wall words

I love how the word nestles amongst the florals.

Heidi Swapp Neon wall words

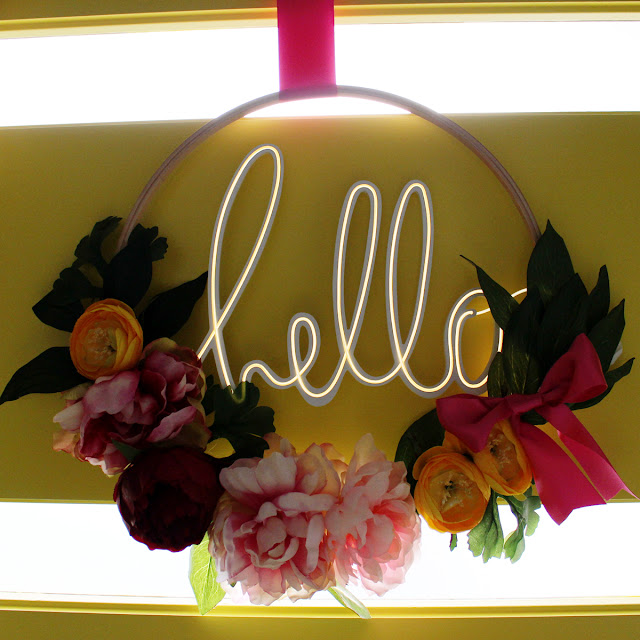
 When the sun starts to go down I turn on the neon and my word lights up!

Heidi Swapp Neon wall words

It is a beautiful and fun way to greet the visitors to my home. You can find the Neon words at your local Joann stores!


Photobucket

Sunday, May 20, 2018

DIY Iridescent foil sneakers

I love crafting, and I love thinking a little outside the box. When Heidi Swapp challenged me to create a project with the ever popular iridescent trend the cogs started turning in my head! I thought how could I use the new Iridescent Minc foil found at Jo-Ann Fabric and Craft stores  to ceate a piece of clothing... and then Boom!! I had it! Use the foil and some white sneakers I had to create my own Iridescent sneakers!


Heidi Swapp Minc Iridescent foil

It was so fun, hey a little bit messy but  I love how they turned out!

Let me share with you my easy step x step process!

Heidi Swapp Minc Iridescent foil DIY sneakers

1. Collect all your supplies - Heidi Swapp Minc Iridescent foil,  Heidi Swapp Clear Magic Medium
( or Modge Podge) scissors, paint brush, sponge, washi tape, scissors, Heidi Swapp glitter, white canvas sneakers.

2. Cut 1  inch squares from the iridescent foil with your scissors.

3. Scrunch each square into a soft ball then flatten out again.

4. Apply washi tape to mask off all the areas that you do not want the foil and adhesive to touch.

5. Dab the Magic Medium onto the sneaker then add the flattened foil squares. Add the Magic medium over and under each square to ensure they are adhered. Continue filling up the area with the Minc foil until it is all covered. If there are bits overhanging they can be trimmed once dry. Allow the adhesive to dry  completely then add additional coats to ensure good coverage. Allow to dry overnight.

6. Reapply some of the washi tape to mask off other areas of the sneaker. Create a mixture of 2 parts Magic Medium and 1 part glitter. Apply the mixture with a paint brush to the sneaker. Allow to dry about 20 minutes then reapply again. Repeat  coats until you get the  desired look. Allow to dry then remove the washi tape. Clean up areas as needed!

Heidi Swapp Minc Iridescent foil DIY sneakers


Aren't these just the funkiest sneakers around! I love that you can customise your sneakers so easily.
Grab yourself some Heidi Swapp Minc Iridescent foil and Magic Medium! You can find all these goodies at your local Jo-Ann Fabric and Craft  Stores!


Photobucket

Friday, May 11, 2018

My updated scrapbook studio

Recently I had a big clean out and revamp in my scrapbook studio. I have rearranged a few things and added some new items as well. Let me take you for a tour!

My Scrapbook Studio

This is the view as you walk into my room. The desks that my husband and I work at are on the  right up against the wall and a couple of the white shelving units are visible from the door.

My Scrapbook Studio

We got our desks from Ikea and they sit next to each other.

My Scrapbook Studio

I adhered my Jane Davenport Jumbo rubon directly onto my desk. 

My Scrapbook Studio

We have a large plastic sheet over the top of the tables which helps protect the work surface.

My Scrapbook Studio

This is the view looking from the side of table back to the door.

My Scrapbook Studio

I keep my Jane Davenport Creative books on my table for inspiration!

My Scrapbook Studio

Every few weeks I change out my Heidi Swapp Letterboard for some inspiration .

My Scrapbook Studio

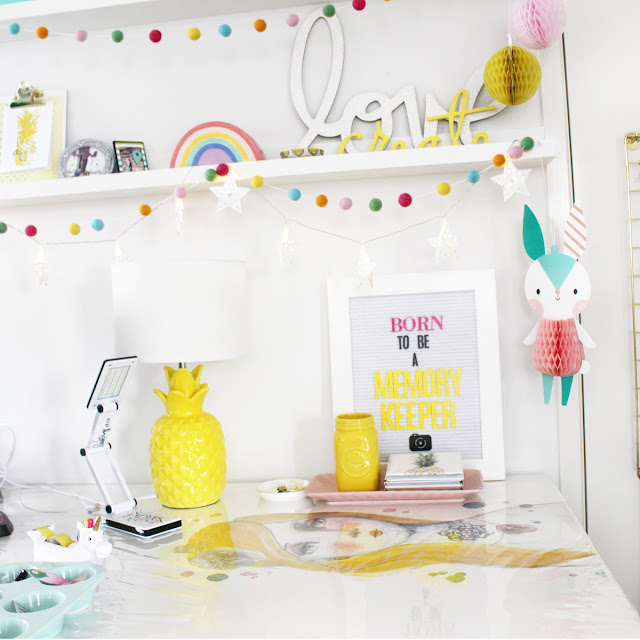
I love the shelves above my desk which holds a treasured  photo and some of my favourite Heidi Swapp words.

My Scrapbook Studio

A little eye candy on my desk.

My Scrapbook Studio


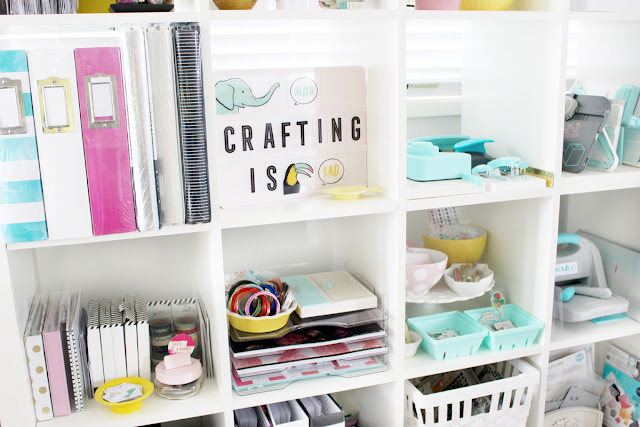
My Heidi Swapp Mini Lightbox with a fun new crafty quote!

My Scrapbook Studio

All my go to pieces I need for when I get crafty sit on this tray on my desk.

My Scrapbook Studio

Here is a full view of our tables.

My Scrapbook Studio

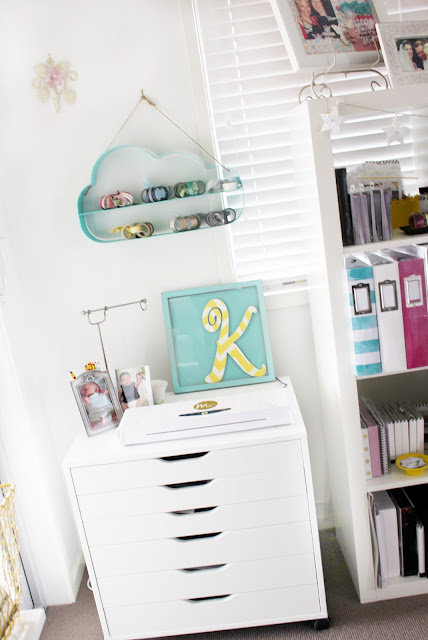
To the left of the table sits a couple of shelves which hold some of my larger machines.

My Scrapbook Studio

My We R Memory Keepers  Typecast typewriter sits on the small cupboard which makes it easy for me to use on almost every project.

My Scrapbook Studio

To the left on the adjacent wall I have a unit from Ikea for my printers and baskets of bits and pieces, including punches, paints, stamps and flowers.

My Scrapbook Studio

Next to that sits my large Expedit from Ikea

My Scrapbook Studio

On the shelves I have some of My Heidi Swapp collections and some of my We R Memory Keepers tools.

My Scrapbook Studio

 Ny Hawthorne and Pineapple Crush ephemera !

My Scrapbook Studio

We R Memory Keepers punches!

My Scrapbook Studio

A bit of fun with another of my Heidi Swapp letter boxes!


My Scrapbook Studio

I love that the new We R Memory Keeper paper trays fit inside my Expedit shelves. I have some paper pads and my Happy Jig sitting on top.

My Scrapbook Studio

Pretty things all in a row!

My Scrapbook Studio

The new We R Memory Keepers Punch board Storage keeps all my punch boards in place and in easy access!

My Scrapbook Studio

Crafting is Rad Right!!!!

My Scrapbook Studio

Some of the new Heidi Swapp Storyline accessories.

My Scrapbook Studio

and a favourite photo and a framed layout of when I met Heidi all those years ago!

My Scrapbook Studio

Another Ikea set of shelves holds all my 12 x 12 paper collections and my Minc sits on top, again for easy access.


My Scrapbook Studio

The final set of shelves sits to the right of the door.

My Scrapbook Studio

It holds my Minc foils and embellishments and my Jane Davenport collection of items.


All the Foil colours makes me happy!


My Scrapbook Studio


Isn't  the Jane Davenport Girl Brush cup so cute and the stunning Inkredible inks are too die for!

My Scrapbook Studio

I added the yellow ribbon and flower for a touch of whimsy!

My Scrapbook Studio

I cant wait to use the new Deep sea Mermaid what either!

My Scrapbook Studio

This really is my happy place. Every time I walk in I get excited and motivated to create! I am so thankful to be apart of the American Crafts family, it truly is a dream come true!

Photobucket

Monday, May 7, 2018

Teacher Appreciation day with my Lightbox


Happy Teacher appreciation day to all my fellow teachers out there!
Its the one day , although I know some like to celebrate all week long, where we all get to celebrate all the hard work that goes into teaching our beautiful students.
To celebrate I created a fun little sign on my Heidi Swapp Lightbox!

Heidi Swapp Lightbox

Isn't it fun!

Heidi Swapp Lightbox

I also took my Lightbox  to school and created a short but fun little video in my classroom!


To all my fellow teachers! YOU ALL ROCK BIG TIME!!!!


Photobucket