Thursday, July 17, 2014
the talker...
These projects were up on the Jillibean Soup recently.
This first one was a challenge to create a layout with triangles.
I used one of the 12x12 placemats and spritzed some white cardstock with mustard Colorshine to create my background.
I then layered over my elements including that cutie patootie photo of my youngest!
Project 2 was a quick birthday card I made for a kiddies party recently!
Monday, July 14, 2014
Stuck...
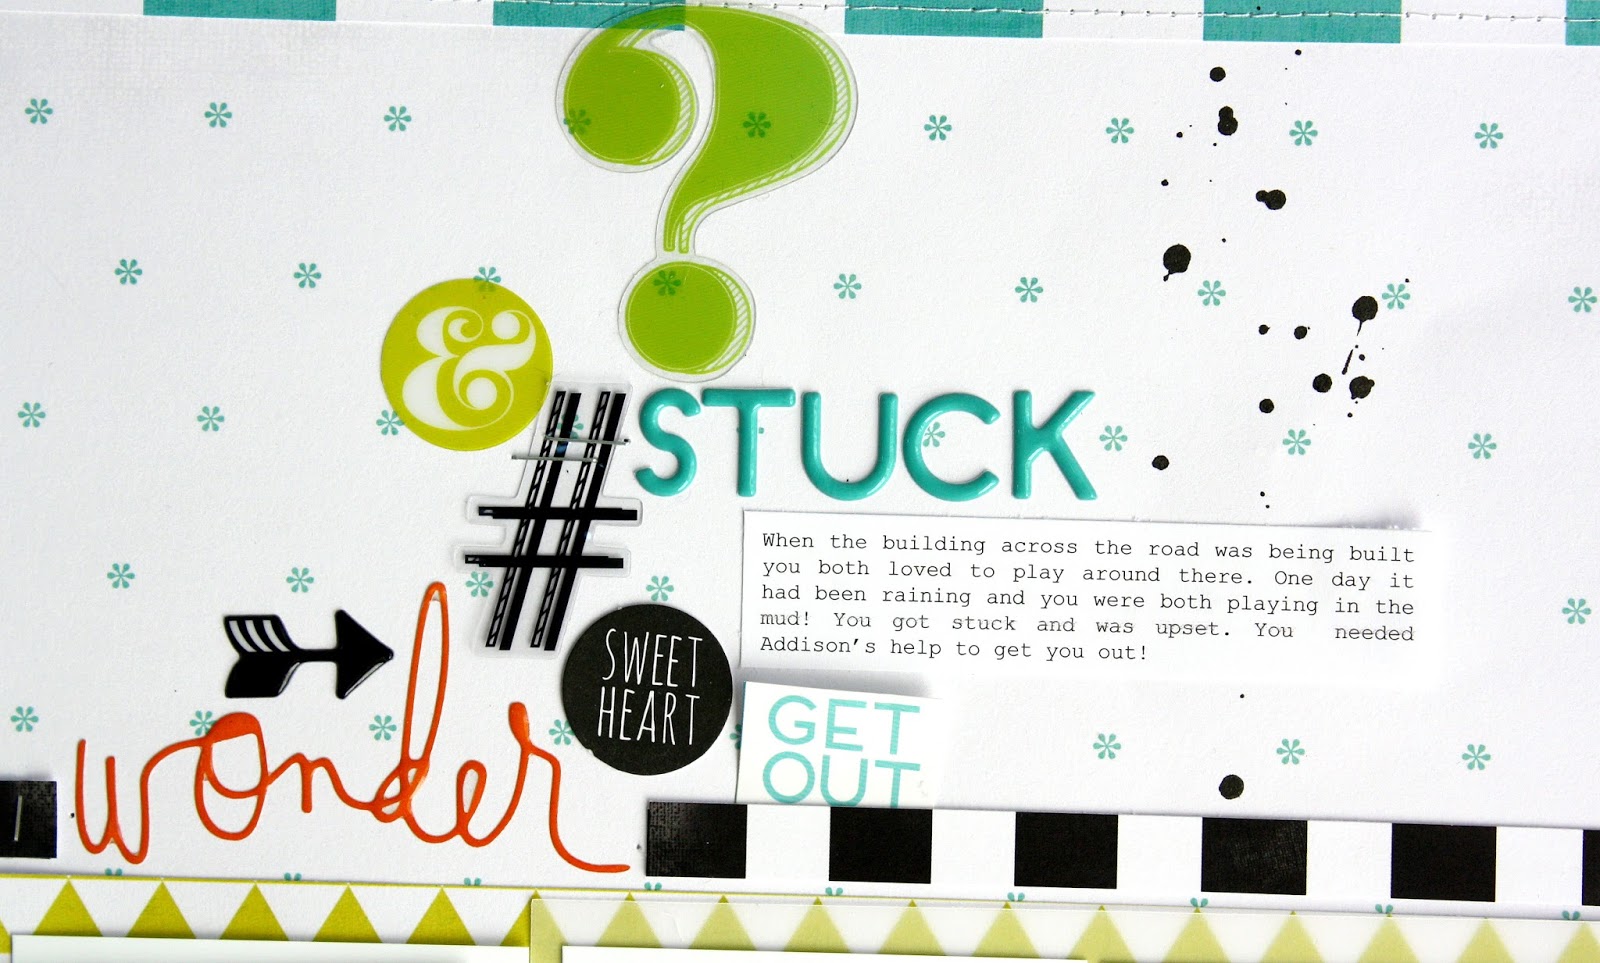
Going back through some older photos of my boys brings back so many memories. I remember this day like it was yesterday! My youngest stuck in the mud across the street from our house...
The colours in these photos suited the colours in Heidi Swapp's Favorite Things collection perfectly!
That glitter frame draws attention to that delightful photo beautifully...
as always my journaling recalls the story for future reference!
The colours in these photos suited the colours in Heidi Swapp's Favorite Things collection perfectly!
That glitter frame draws attention to that delightful photo beautifully...
as always my journaling recalls the story for future reference!
Wednesday, July 9, 2014
The mixed Media album
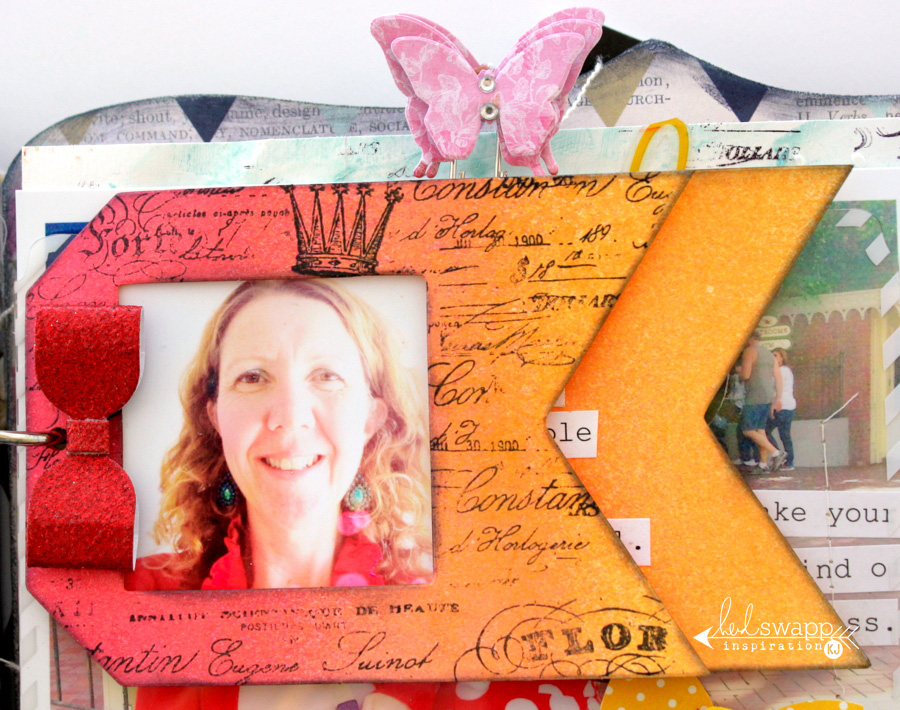
If you know me you know I m not a get your hands messy kinda scrapper , but recently I shared this mixed media album over on the Heidi Swapp blog. I got to play with the Heidi's new Magic Mediums and the Mixed Media album which includes- chipboard, canvas, cardstock and clear pages!
There are a number of step x step tutorials I included in my post on some of the techniques I share. Be sure to check those out on Heidi's blog!
For the cover I used some of the Opaque Magic Medium, white paint and Color Shine to cover the chipboard. I then went in with texture paste, glitter texture paste and Heidi's mini stencils to create the texture. I finished off with black ink and the Clear Script stamp for definition to the edges.
I used one of Heidi's stencils and gel medium to create subtle texture on the edges of my enlarged photo.
Here I spritzed various colours of Colorshine onto white cardstock and allowed it to dry. I then drew some circles with a black marker and cut them out.
Lots of texture created with texture paste, gel medium and stencils.
I used Color Shine and a wide flat brush to create the stripes on this page.
I think this is my favourite technique, I created my own stamp out of foam and then stamped into a mixture of texture paste and the Opaque Magic Medium. ( see the tutorial on Heidi's blog)
Here I spritzed some Color Shine into an embossing folder and then ran in through my cuttlebug to create this fun effect.
I used texture paste and the birdie stencil over a pre misted cardboard sheet to create this pretty page.
On this page I created texture with gel medium and three mini stencils, then spritzed over the top with Navy and Gold Color Shine.
A quick and easy shaker pocket.
I stitched some fabric to the canvas pages in a cross hatching pattern before adding my photo.
I misted in an ombre design for these cute tags.
Here I overlaid my 6x8 photo with one of the clear pages.
This one uses the same Transfer technique using clear Magic Medium, be sure to check the tutorial on Heidi's blog.
Another canvas page, I stitched some denim fabric to and pieced together my flower.
My final page uses many of the techniques shared above to create my background. I then used a stencil and ink to create my lady's head and fussy cut some vintage Heidi Swapp pattern paper to create her hair.
Phew are you still with me, be sure to check Heidi's blog for all the step x step tutorials.
There are a number of step x step tutorials I included in my post on some of the techniques I share. Be sure to check those out on Heidi's blog!
For the cover I used some of the Opaque Magic Medium, white paint and Color Shine to cover the chipboard. I then went in with texture paste, glitter texture paste and Heidi's mini stencils to create the texture. I finished off with black ink and the Clear Script stamp for definition to the edges.
I used one of Heidi's stencils and gel medium to create subtle texture on the edges of my enlarged photo.
Here I spritzed various colours of Colorshine onto white cardstock and allowed it to dry. I then drew some circles with a black marker and cut them out.
I then used the Clear Magic medium to adhere and seal some coarse glitter to each circle.
Here I used the Magic Medium and the Transfer Technique I shared on Heidi's blog to create this page.
Lots of texture created with texture paste, gel medium and stencils.
I used Color Shine and a wide flat brush to create the stripes on this page.
I think this is my favourite technique, I created my own stamp out of foam and then stamped into a mixture of texture paste and the Opaque Magic Medium. ( see the tutorial on Heidi's blog)
Here I spritzed some Color Shine into an embossing folder and then ran in through my cuttlebug to create this fun effect.
I used texture paste and the birdie stencil over a pre misted cardboard sheet to create this pretty page.
On this page I created texture with gel medium and three mini stencils, then spritzed over the top with Navy and Gold Color Shine.
A quick and easy shaker pocket.
I stitched some fabric to the canvas pages in a cross hatching pattern before adding my photo.
I misted in an ombre design for these cute tags.
Here I overlaid my 6x8 photo with one of the clear pages.
This one uses the same Transfer technique using clear Magic Medium, be sure to check the tutorial on Heidi's blog.
Another canvas page, I stitched some denim fabric to and pieced together my flower.
On this page I added texture paste over a stencil and sprinkled embossing powder over it, I allowed it to dry for about 15 minutes then heated with my heat gun.
My final page uses many of the techniques shared above to create my background. I then used a stencil and ink to create my lady's head and fussy cut some vintage Heidi Swapp pattern paper to create her hair.
Phew are you still with me, be sure to check Heidi's blog for all the step x step tutorials.
Sunday, July 6, 2014
"are you mum"...
Today I have a couple of projects that were up on the Jillibean Soup blog recently.
First a layout remembering a little saying my youngest use to say to me...
... and a few cards.
First a layout remembering a little saying my youngest use to say to me...
... and a few cards.
Tuesday, July 1, 2014
happy...
Today I am sharing the newest Mood board challenge over at JOT magazine, beautiful sunshiny yellow and teal, right up my alley.
I wanted to celebrate this little story of my son just out of hospital last year on our trip to Disneyland.
I grabbed the large chevron stencil from Heidi Swapp and laid it over a piece of white cardstock then misted it lightly with Mustard Color Shine.
I also got to play with some new Chic Tags goodies that I picked up recently at the Expo in Brisbane.
Be sure to check out the challenge over on the Jot Blog.
I wanted to celebrate this little story of my son just out of hospital last year on our trip to Disneyland.
I also got to play with some new Chic Tags goodies that I picked up recently at the Expo in Brisbane.
Be sure to check out the challenge over on the Jot Blog.
Subscribe to:
Posts (Atom)


hhhhhhhhhhhhhhhhhhhh.jpg)
ooooooooooooooooooo.jpg)