There are two time capsule albums, this one has the beautiful linen cover with mint binding.
I used the Star gazing Art screen and black Art screen ink available from the Gallery Wall collection on the cover of my album then added some letter beads from my stash threaded on some yellow thread to add my sons name.
Inside the album there are 8 envelopes bound together to form the pages.
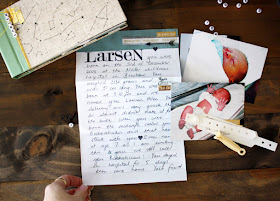
In the first envelope I have placed his new born photos, hospital band and clip.
I have also written a special letter to him, sharing the story of his birth on the note paper that comes inside the envelope.
I added some of the washi tape, stamps and gold stickers from the Memory Keeping kit to embellish my letter.
In each envelope I added some of the significant events of his life so far.
His first set of stitches...
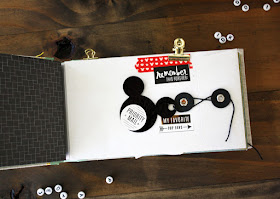
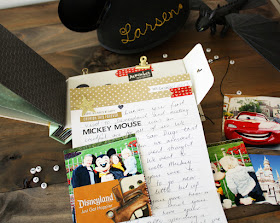
and his first visit to Disneyland!
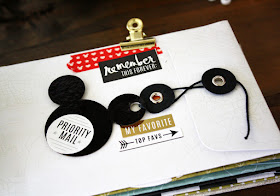
To hold closed my envelope I added a chipboard Mickey Mouse head which I foiled with black foil.
I added some of the stickers from the embellishments kit to finish off the front.
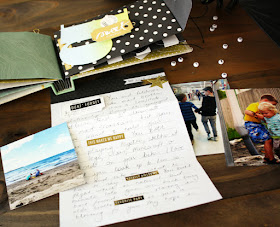
Inside the envelope I have stored some favourite photos , tickets and a letter about our time there.
I wasn't afraid to use my handwriting on the letters to show my own personality.
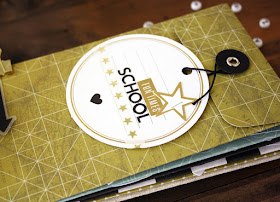
Next I shared memories from his first year at school.
To hold closed the envelope I looped the cord into one of the tags from the embellishment kit which I simply decorated with some of the washi, glitter letters and stickers.
Inside I added his first day and last day of school photos plus some important details about his first year.
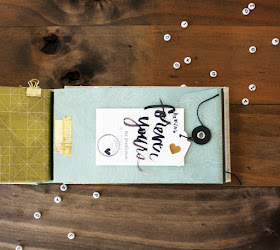
My next envelope holds another important step in his life.
The envelope is held together with a tag and clear word from the embellishment kit.
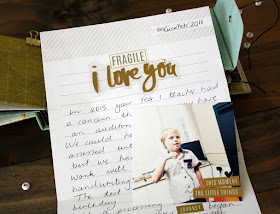
Inside I added some personal journalling and added some of the gold stickers to the photo.
I kept the letter simple with that clear acrylic word I attached with my tiny attacher.
I added a pocket to celebrate the relationship between he and my elder son.
I used one of the large watercolor letters plus two colours of Colorshine to create an ombre effect. I punched a hole on the top then stapled another of the elements from the kit to form the closure for the envelope.
Inside I tucked special photos and a letter to him about the relationship they have with each other.
I added some stamps from the kit to one of the tags from the embellishment kit and stapled it to the top of the letter.
My final envelope holds messages from him.
I added another tag and layered on stickers and acrylic words to decorate it.
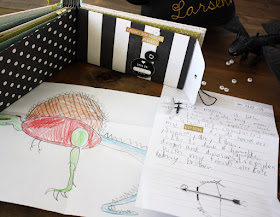
Inside I asked him to draw a picture and write some facts about him right now!
I can't wait to share the album with him when he is older. My plan is to do another one or two over the next few years to celebrate the next stages in his life too.













What a fabulous idea! I reckon I could have a go at creating something similar! Since we don't HAVE Michaels in Oz - & aren't likely to either, I guess..... LOVE the 'boy' themes you've followed through on it. LOVELY collection of mementos:):)
ReplyDeleteSo Cute, wish my Michael's had them!
ReplyDeleteMissed this one. So great! You are so thoughtful in these type projects.
ReplyDelete