Now a little back story before I tell you more! I am notorious for forgetting birthdays! I have been for many many years and I have always wanted to create some sort of Birthday calendar to help me remember those all important dates.
Enter the Heidi Swapp Memory Dex Spinner!
I created my very own rolling Birthday calendar. Now I have no excuses for forgetting anyones birthday right!
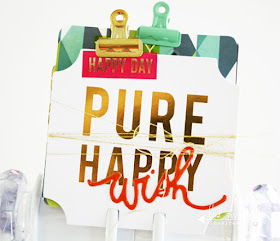
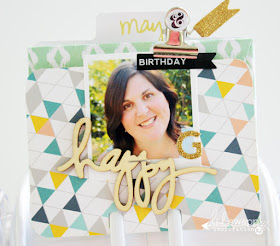
Let me share a little how I started. I began with this Pure Happy Memory Dex card. I wrapped it with some gold thread and laid the word wish from the Project Life Puffy Stickers set. I then clipped the Project Life Gold Phrase Happy day sticker to the top and added it into my Memory Dex spinner.
Next I added in that 4x4 Prismatic Project Life card and stapled on the Ready or Not Green acylic word from the Teal set.
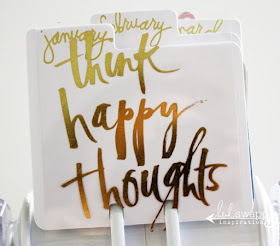
I then added in the Month of the Year Memory Dex cards to seperate each month.
I wanted to share some of cards I used in my Spinner. I began by printing photos of all my family and friends. I then went through my Project Life Prismatic Core kit and found cards that complimented the colours in the photos. I also chose cards that had horizontal journaling lines and grids on the reverse.
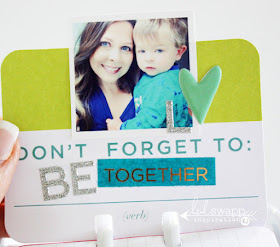
I also wanted to share some of the pages I slipped into my spinner. As mentioned I used the 3x4 cards from the Prismatic core kit. On each card you will find a gold or silver glitter letter from the Memory Planner collection representing the person's name. Here are a few of my cards from January to December.
On this card I layered some grey washi from the new Washi Tape collections, then added the Ready or Not rubon over the washi for a fun effect.
Here is how I changed my 3x4 cards into a Memory Dex card.
Choose a card and grab the Memory Dex punch. Slip the card in and punch the card. Pull it out and the card is ready to slip onto the spinner!
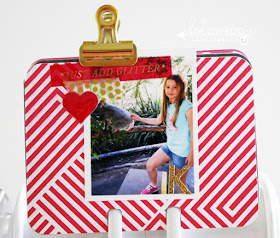
On this card I laid one of the wood veneer words over my photo before clipping the Project Life Gold Phrase Sticker to the top. I then splashed some gold colorshine to complete.
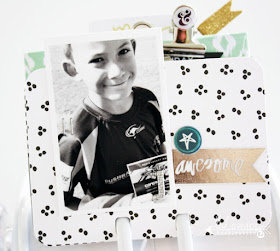
For each photo I tried to coordinate the embellishments to match. Here I added the silver banner sticker from the Memory Planner collection.
Puffy stickers complement the photo perfectly.
Here I used my tiny attacher to staple the Wood veneer word to my photo.
I splashed some Black Velvet Colorshine onto the card for extra detail.
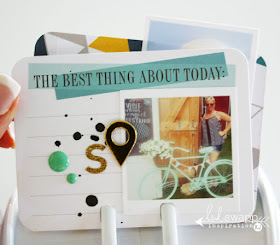
The teal dots from the new Sticker collection were perfect for this card.
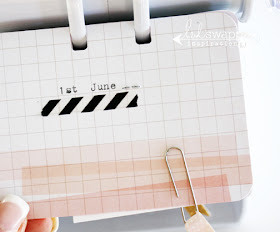
I then placed a strip of washi tape from the new Washi Tape packs under each typed date!
Layering puffy stickers and the new clear gold stickers over the photo adds subtle dimension to a card.
I added some machine stitching over the sheer stickers for texture!
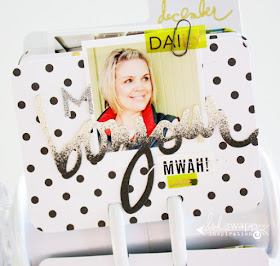
The glitter bow from the new sticker collection suits my friends personality perfectly!
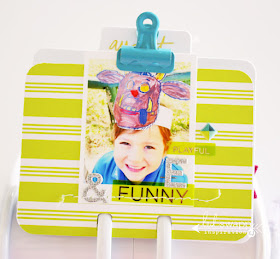
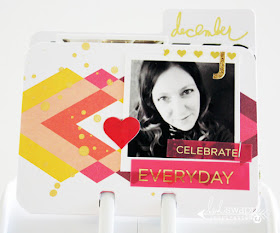
Here I layered washi tape, a puffy sticker and the Project Life Gold Phrase sticker at the top of the card, clipped together with the gold clip.
He really is my favorite!
I created an ombre effect on this water color word by spritzing the bottom with Black Velvet colorshine.
I grabbed another Water color word and this time used two shades of colorshine, Butter and Mustard to create the ombre effect. Once dry I machine stitched it to my card.
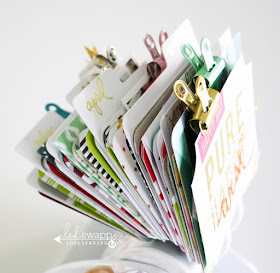
I love all the layers in my spinner, it looks so pretty sitting on my desk!
The Memory Dex Spinner is my new favorite scrapbook item, I hope you get to play with one soon!
Now I have NO EXCUSES to miss a birthday again! My Memory Dex Spinner is Pretty and practical at the same time!
Supplies
Memory Dex Spinner white, Acetate words teal,
Project Life Watercolor words, Project Life Gold Stickers, Project Life Puffy Stickers,
Project Life Gold Phrase Stickers, Project Life stamps, Project Life Definition 4x4 cards,
Project Life Bright Overlays Kit, Project Life Prismatic Core Kit, Washi Tape pack grey, Washi Tape Pack gold, Word Jumbles Gold stickers, Word Jumbles Black and White stickers, Bulldog clips pink,
Bulldog clips gold, Colorshine Butter, Colorshine Black Velvet, Colorshine Mustard,
Colorshine Black Velvet, Memory Planner flags, Memory Planner Gold and Silver Glitter stickers













Now that is a brilliant idea, & I'm thinking as I'm reading your post of lots of permutations that I can manage with this to make something out of my out of control stash!!! I REALLY like it! I think I'd have to combine it with a calendar so I flip it each day....BUT Then I'd be late for the birthdays.....!!! Anyways, I do love it, especially all the GORGEOUS and fun decorating ideas:):)
ReplyDeleteSuch inspiration, thanks Kim! While scrolling through your post I decided that this is what I'm going to make for my 82 year old Mum for Chrissy. I love handmade pressies.......1 down, so many more to go. Any more ideas xx
ReplyDeleteThat looks amazing!! Love the way it turned out. Gorgeous and useful x
ReplyDeleteJust love it! I also like the idea of jusing machine to write on card :-)
ReplyDeleteYou are such a clever creator! This album of specialness looks marvellous!
ReplyDeleteMust say this is truly a unique idea with plenty of love and affection. Got countless gifts and blessings from my near dear ones on my last birthday. Celebrations were hosted by my best friend at one of the admiring party venue and my favorite Italian food was exotic. Got a gorgeous designer outfit from my mother.
ReplyDelete